
Introduction of The Process of Designing Website
Designing a website is more than just making it look good—it’s about creating a functional, engaging experience that guides visitors toward a goal. Whether you’re building your first site or redesigning an existing one, following a structured process helps ensure success. Here’s a step-by-step guide to walk you through the entire web design process from concept to launch. The Step-by-Step Process of Designing a Website,
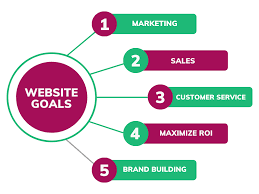
Step 1: Define Your Website’s Purpose and Goals
Before any design work begins, be clear on what you want your website to achieve. Are you trying to showcase a portfolio, sell products, generate leads, or provide information? Defining the purpose will influence your site’s structure, features, and overall design direction.
Step 2: Research and Planning of The Process of Designing Website
Study your competitors, target audience, and industry trends. This is also the stage to:
- Create a sitemap (an outline of your website’s pages and hierarchy)
- Decide on functionality (e.g., contact forms, e-commerce, blog, booking systems)
- Choose a domain name and hosting provider

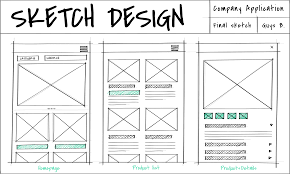
Step 3: Wireframing and Layout Design
Start sketching or using digital tools (like Figma or Adobe XD) to map out the layout of each page. Wireframes focus on structure—not visual design—and help you determine where content, images, buttons, and features will go.
Step 4: Visual Design
Now comes the creative part. Choose your color scheme, typography, images, and branding elements. Make sure the design aligns with your brand’s personality and appeals to your target audience. Keep usability and readability in mind.

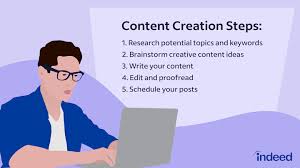
Step 5: Content Creation
Your content should be clear, engaging, and action-oriented. This includes headlines, body text, images, videos, and calls-to-action (CTAs). Use SEO best practices to ensure your content is optimized for search engines.
Step 6: Website Development
With the design and content in place, it’s time to build the website. This can involve:
- Writing code (HTML, CSS, JavaScript) or
- Using a CMS or website builder (like WordPress, Wix, or Webflow)
Make sure your site is responsive—meaning it works well on mobile, tablet, and desktop screens.

Step 7: The Process of Designing Website Testing
Before going live, test the website thoroughly. Check for:
- Broken links
- Slow loading times
- Browser compatibility
- Mobile responsiveness
- Form functionality
Fix any bugs or issues before launching.

Step 8: Launch
Once everything is ready and tested, it’s time to publish your site! Announce your launch through email, social media, or digital ads. Monitor traffic and engagement closely in the first few weeks to catch any unexpected issues.

Step 9: Maintain and Update
A website is never truly “done.” Regularly update content, fix bugs, and optimize performance. Analyze site traffic and user behavior using tools like Google Analytics to improve your site over time.

Conclusion of The Process of Designing Website
Designing a website may seem overwhelming, but by following The Step-by-Step Process of Designing a Website, you can create a site that looks great and performs even better. Whether you’re a business owner, designer, or freelancer, this process ensures your website is user-friendly, goal-driven, and ready to make an impact.